


For three weeks in the Spring of 2013 I bartered, trucked, and traded a hand-minted currency for goods, services, and commodities from a station in the Henry Art Gallery's defunct gift shop.
photo credit: Jen Loomis
I poured a silicon rubber mold from the heads and tail sides of American pennies.
photo credit: Ethan Stern
I then poured liquid micro-crystalline wax into the molds.
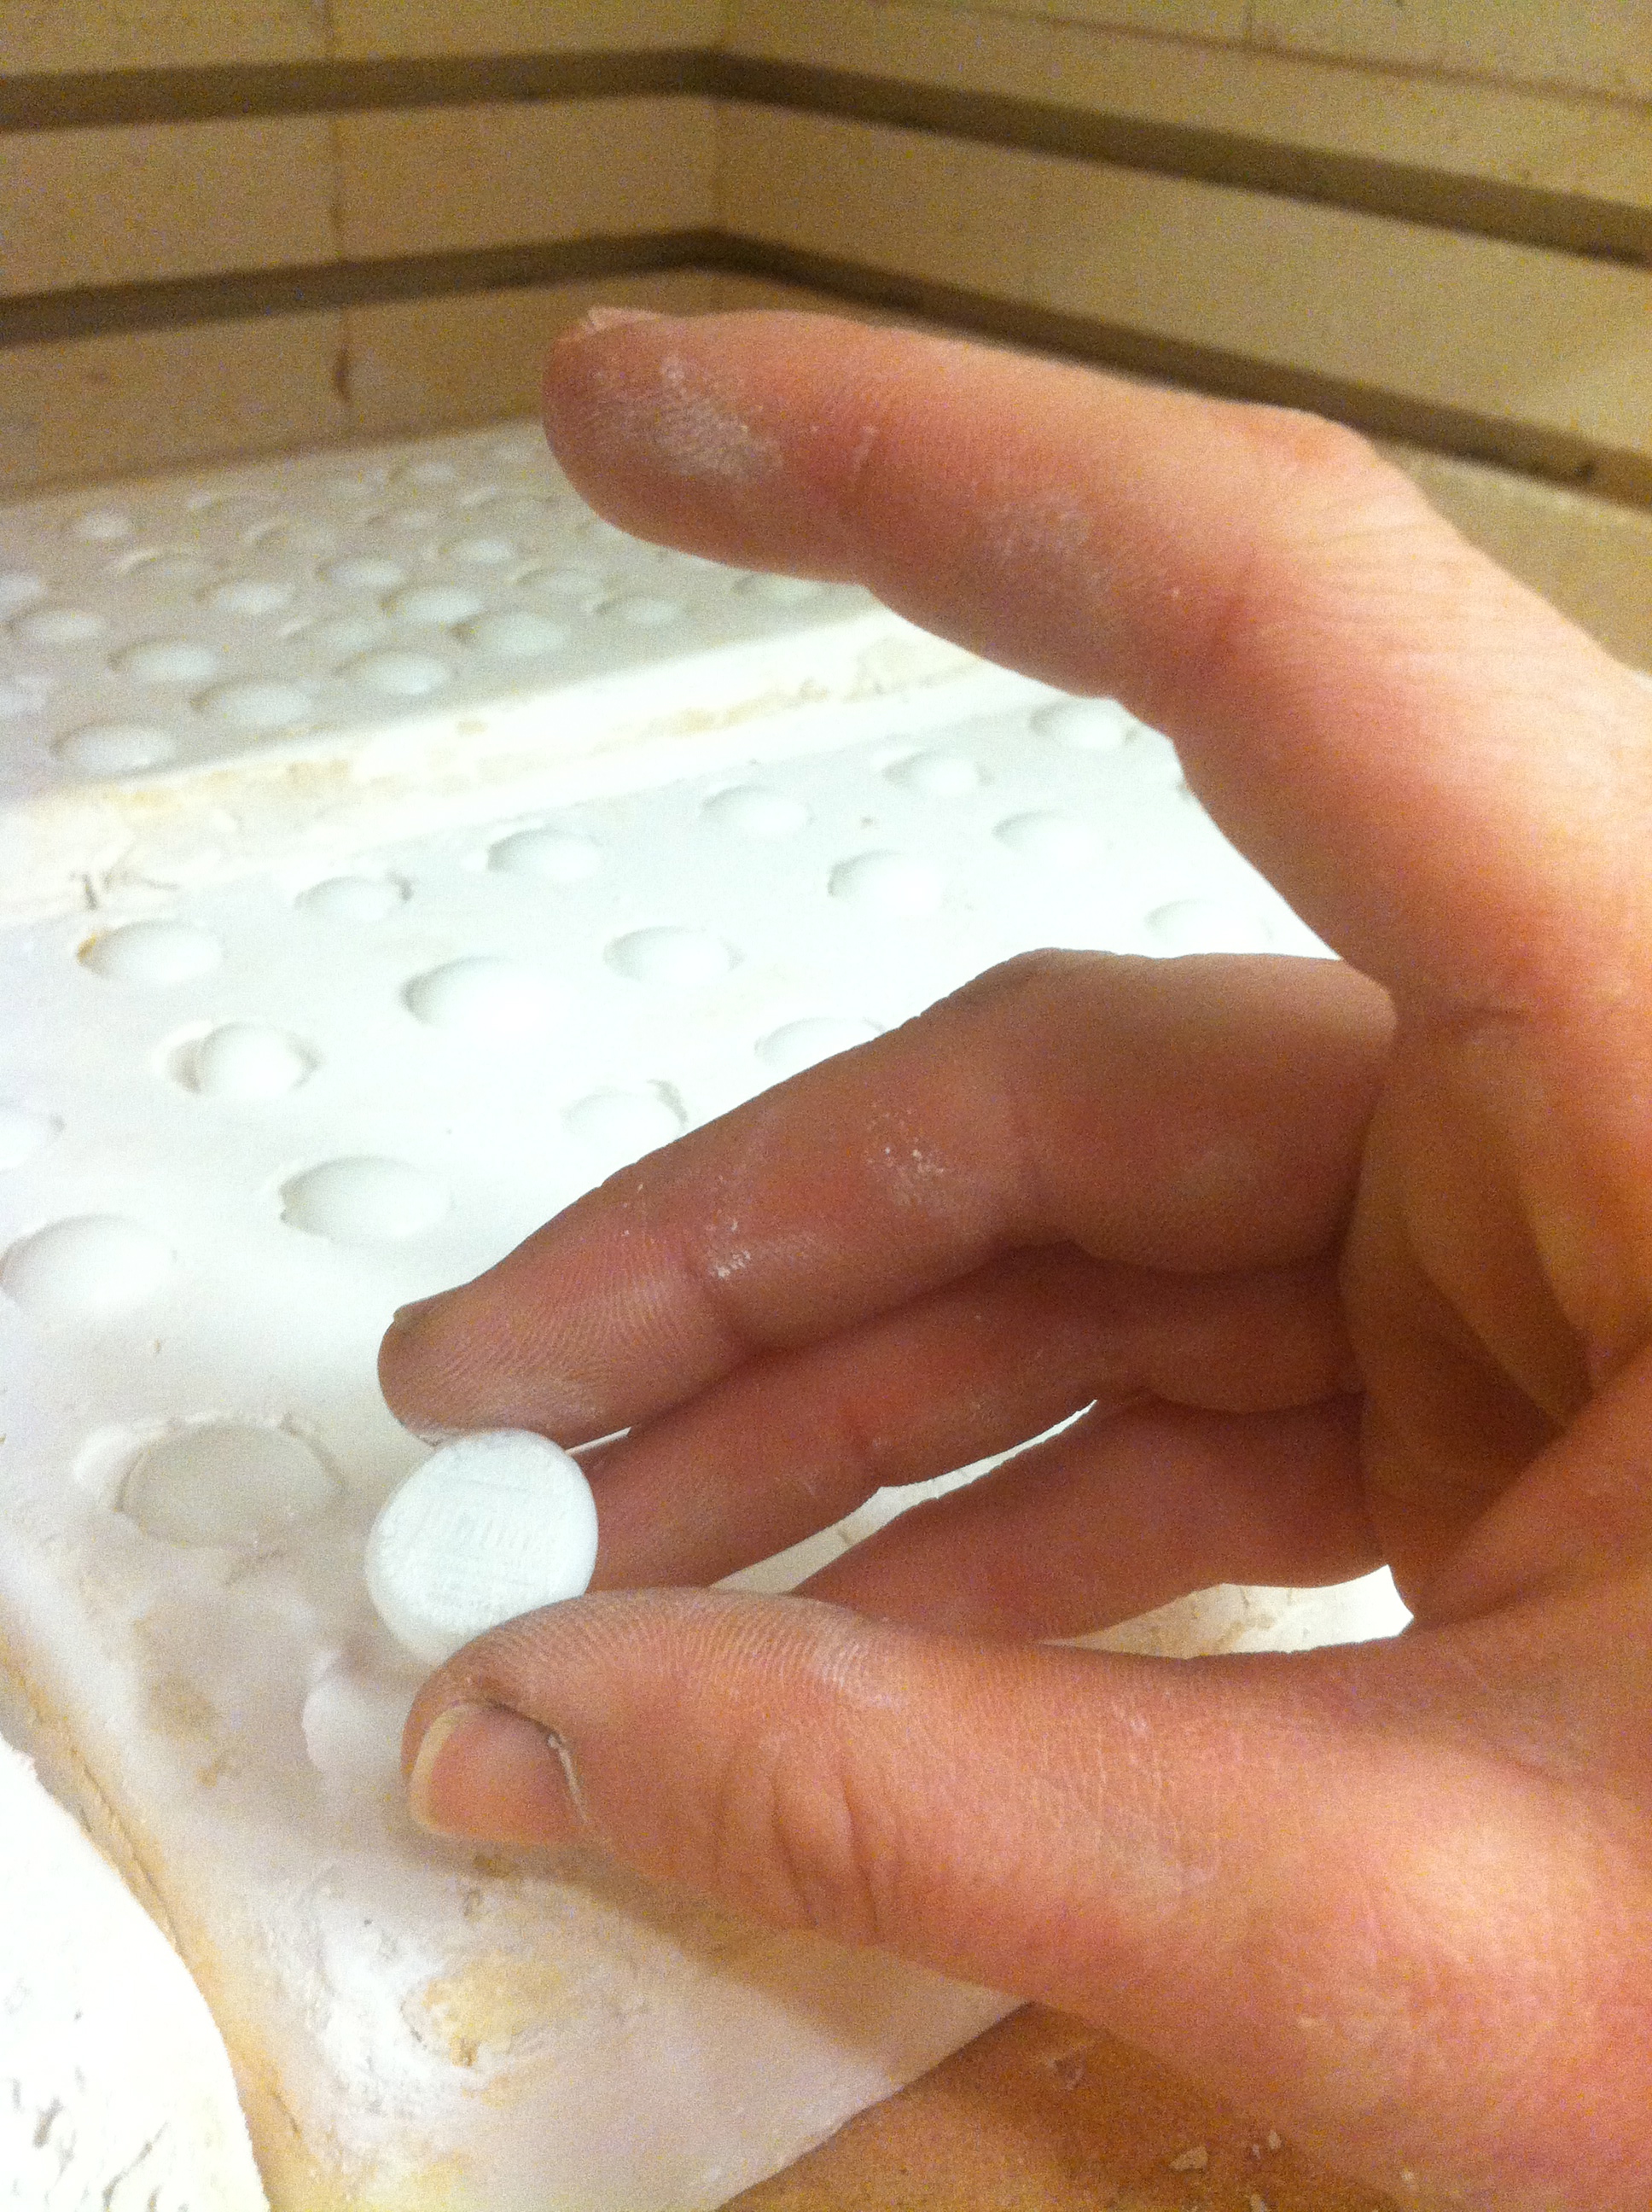
And then I removed the wax pennies from the mold once they were solid. I did this many many times.
After sticking the wax pennies to the table, I built a temporary dam with boards and c-clamps around them in order to make a plaster and silica mold of them.
It is important to seal the edges of the dam with wet clay so that the liquid plaster and silica will not leak out when it is poured.
The clamps must be tight and the table level or else there will be problems with the mold.
This is a messy process.
I then scoop up a 50/50 mix of dry plaster and dry silica and mix them into a bucket of water.
This method of mixing plaster and silica in mold-making is called the "dry island technique," where the maker adds enough dry material to form an island in the center of the bucket of water and the material "slakes" into the liquid. This is how one knows how much material to add; when the plaster/silica mix no longer dissolves into the water.
I then carry the mixture back to my studio space.
And start to stir it with my hand. The material starts to become thicker the more I agitate it.
When the plaster/silica is at the correct consistency--like heavy cream--I pour it over the wax pennies, making sure not to trap any air bubbles.
I scrap the bucket clean before the material sets up completely.
It is important to work quickly and efficiently so no material is wasted and the mold material pours smoothly, or else all of the wax pennies will be unusable.
Once the plaster/silica is poured, I wait until is hardens
When the mold is set up, I place it into a steamer box that heats up the wax and makes it melt out of the plaster/silica mold. This is called the "lost wax" method of mold-making and is an ancient technique employed in the making copies of an object.
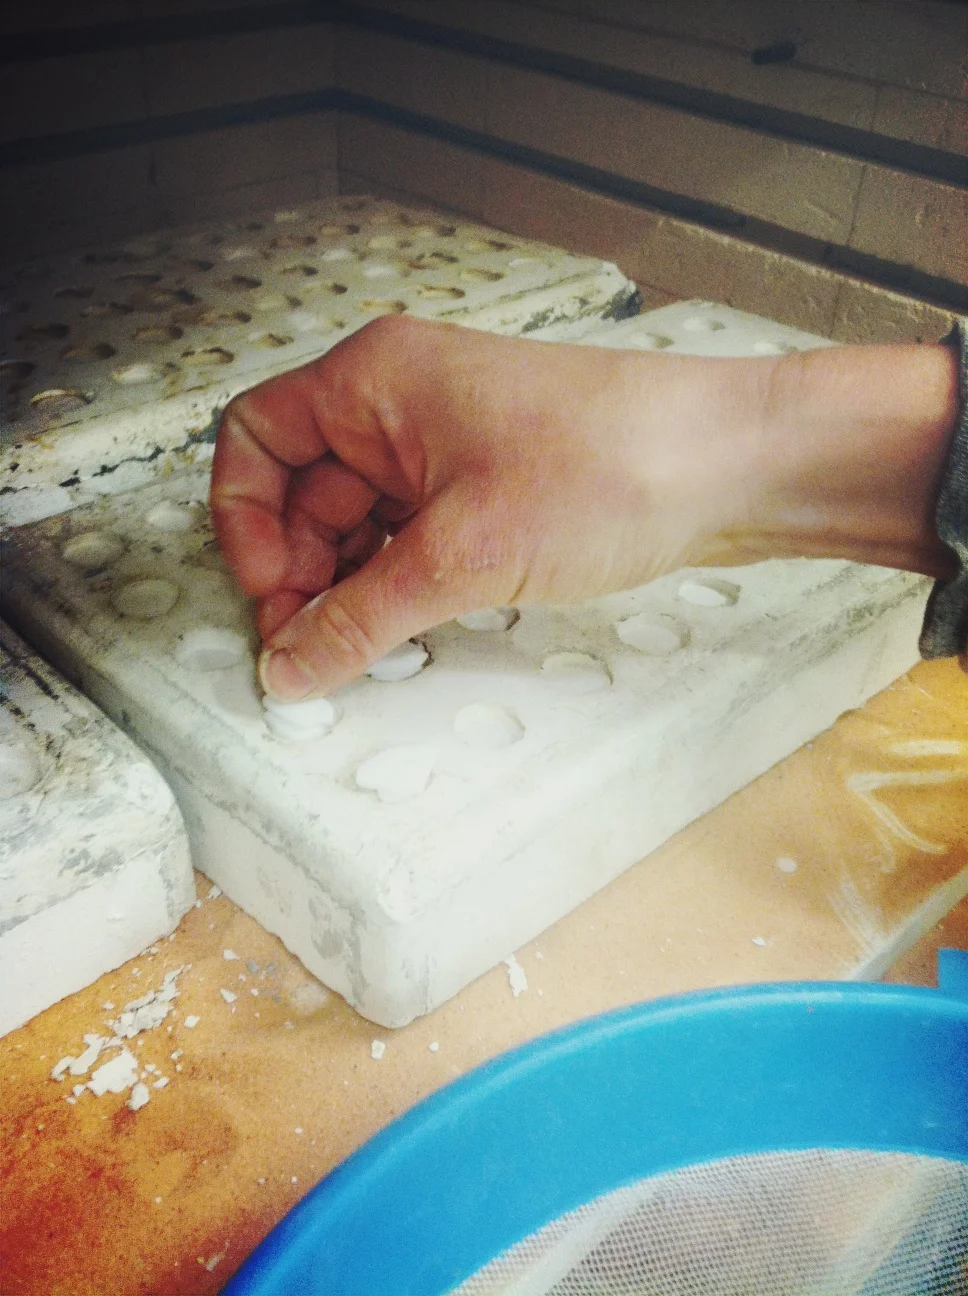
This is the mold, cleaned of all the wax.
You can see the impression of the heads or tails of the original penny in the plaster and silica surface.
I place the molds in a kiln.
Three molds can fit in the kiln at the same time.
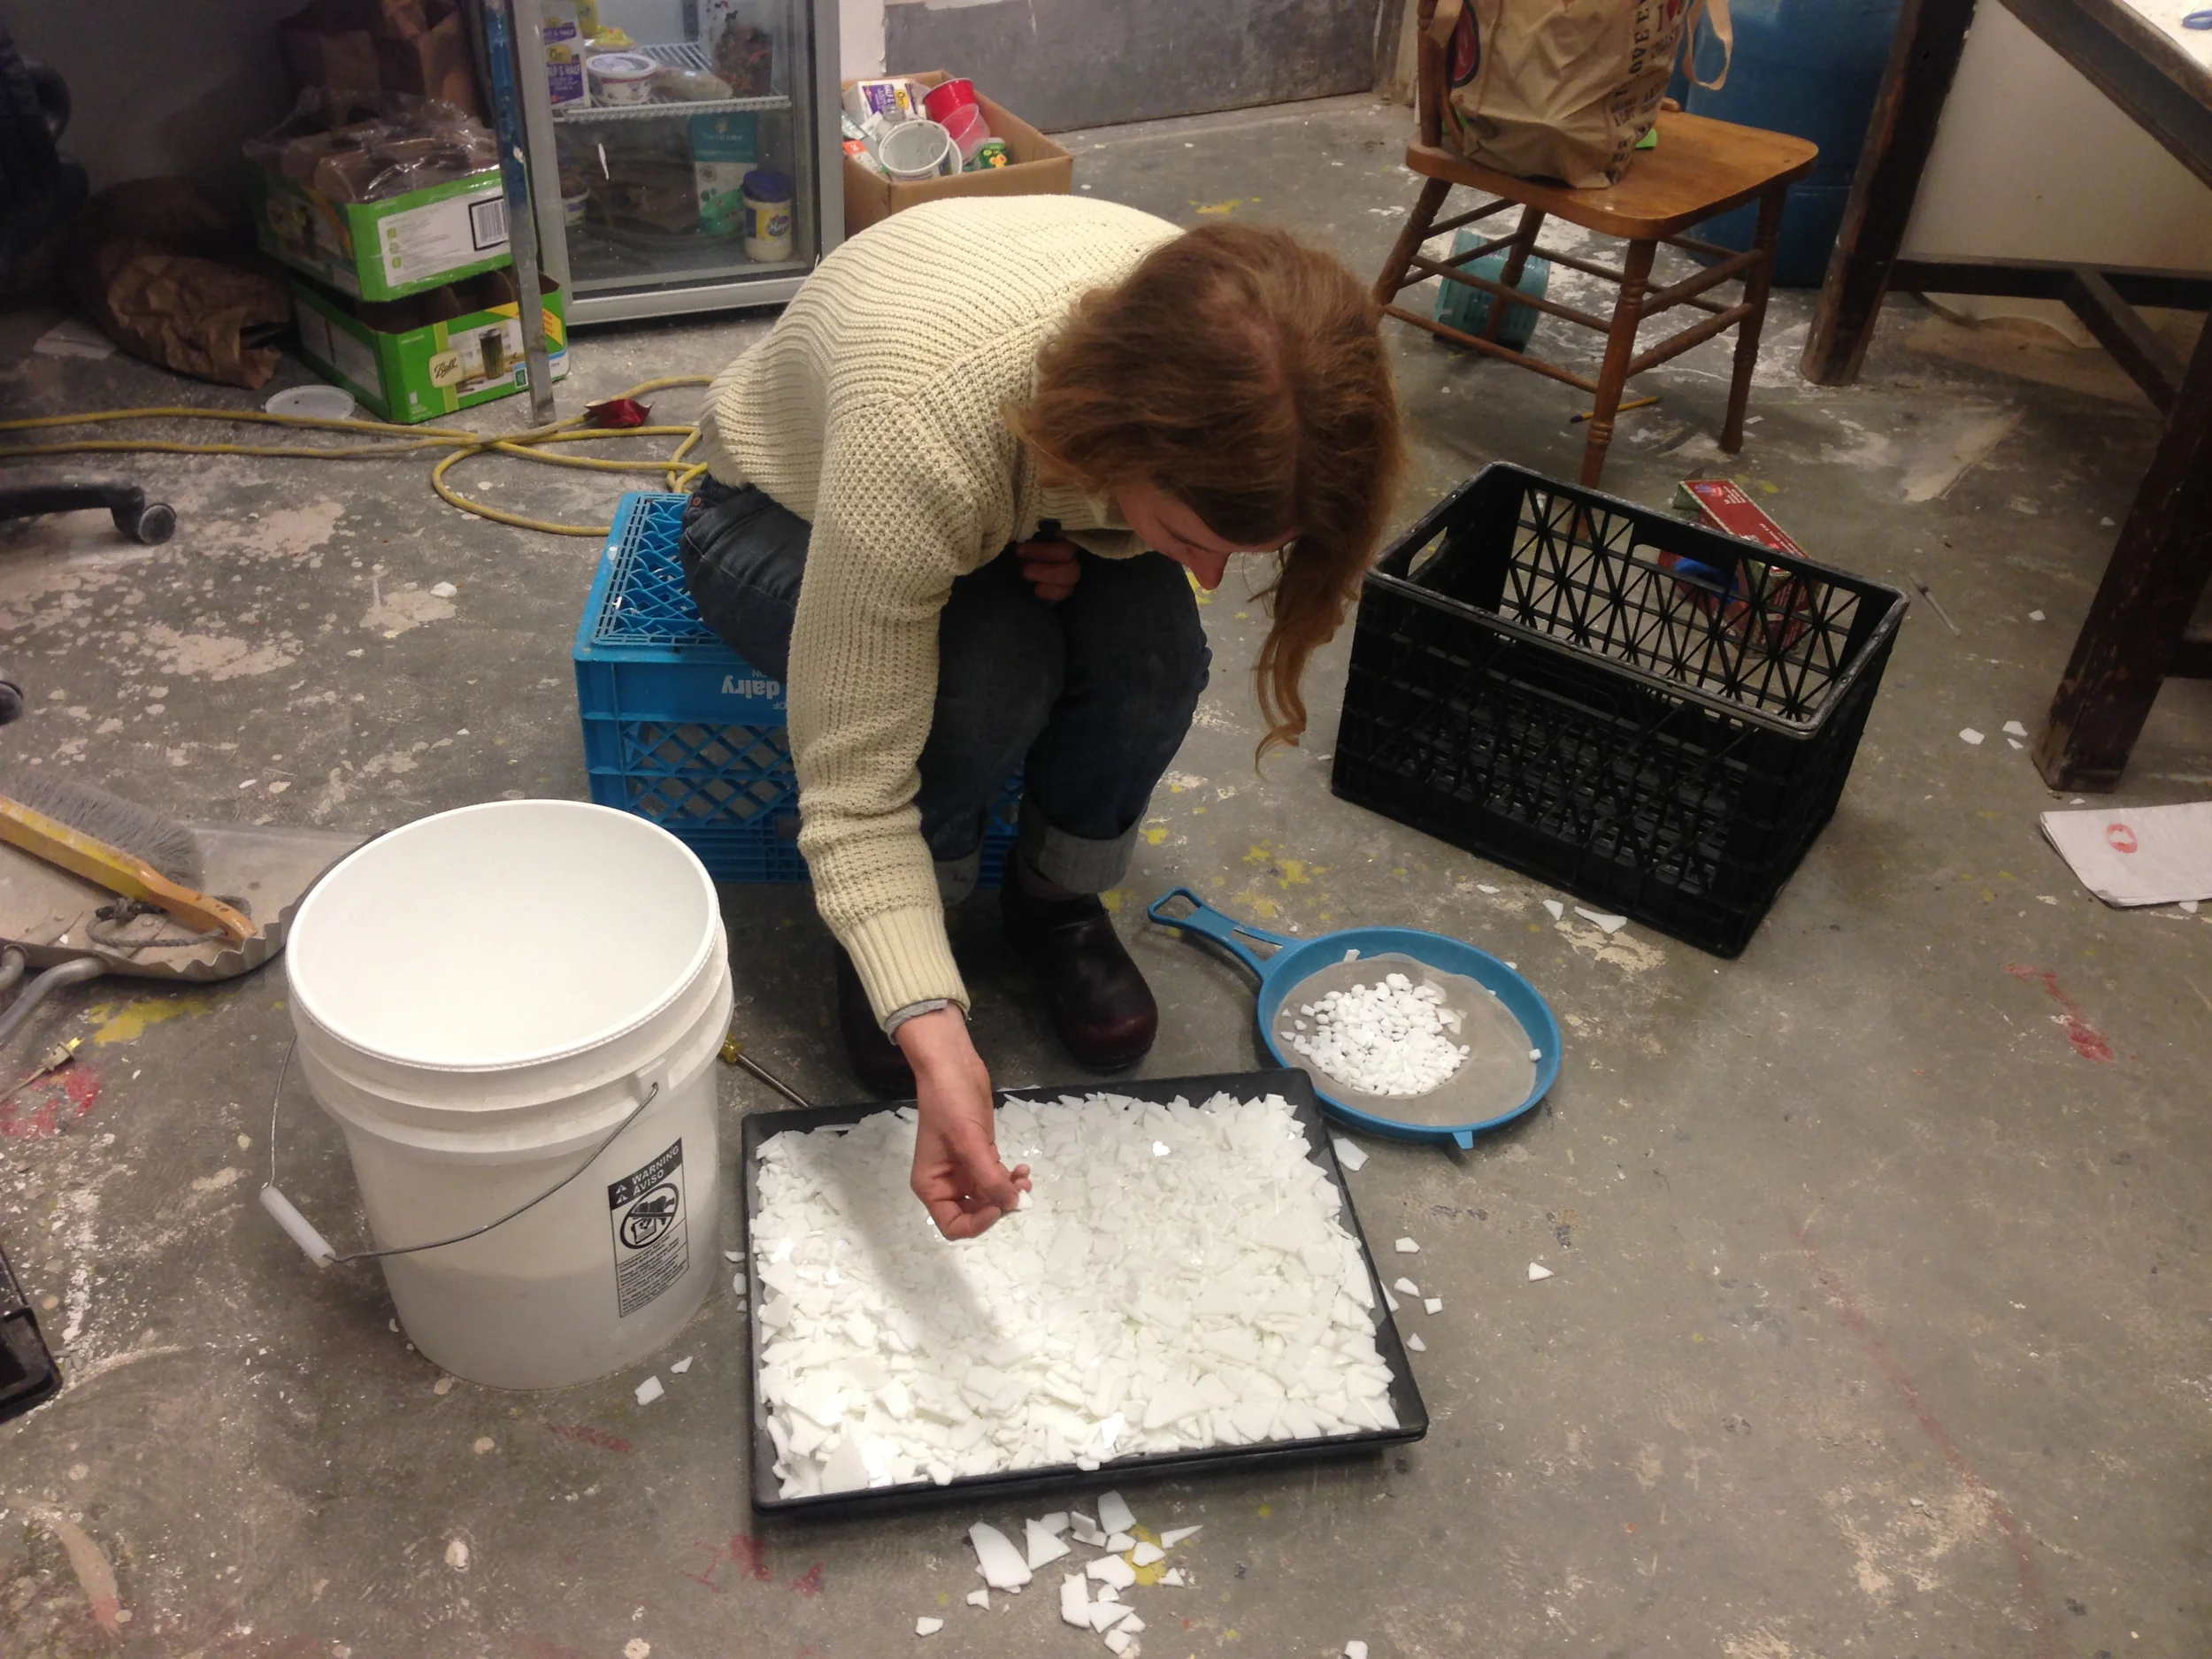
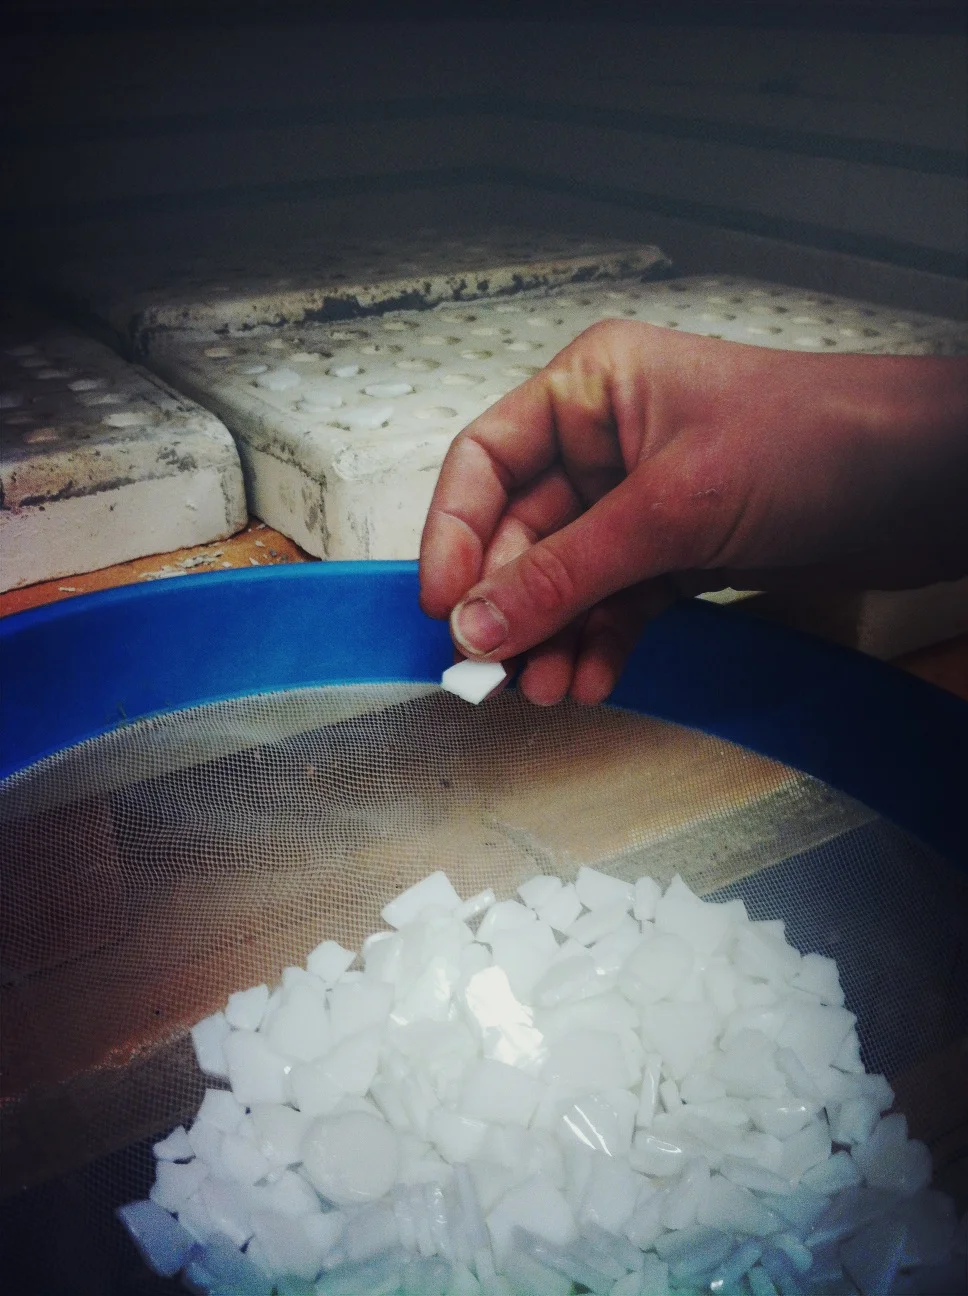
Next I "mine" a bucket of white glass for shards that are the correct size to fit in the penny-sized impressions of the mold. I smash some of the glass and pick out the pieces that fit. This is very tedious and time-consuming.
I carefully stack the selected shards of glass into the molds.
Each coin needs 4 to 5 shards.
This is very tedious work and takes a steady hand.
When the molds are filled, it is time to close down the kiln.
After 12 hours of slowly warming, heating the glass to 1500 degrees Fahrenheit, and gradually cooling, the glass is melted into the molds and the coins are formed.
Each coin has to be inspected to make sure it has the heads or tails impression on it, as well as if it is the correct size and weight.
Any coins that either were not fired to a high enough temperature or did not have enough glass in them are discarded as "seconds," and are unusable as currency.
A close up of the coin when it comes out of the mold.
The molds are removed from the kiln
They are extremely fragile after they have been fired and start to crumble.
Each coin is inspected for shape, weight, and if it has any sharp edges. All sharp edges are ground down with a wet sandpaper for safe handling.
The molds are then thrown away, as they are only structurally sound for one firing.
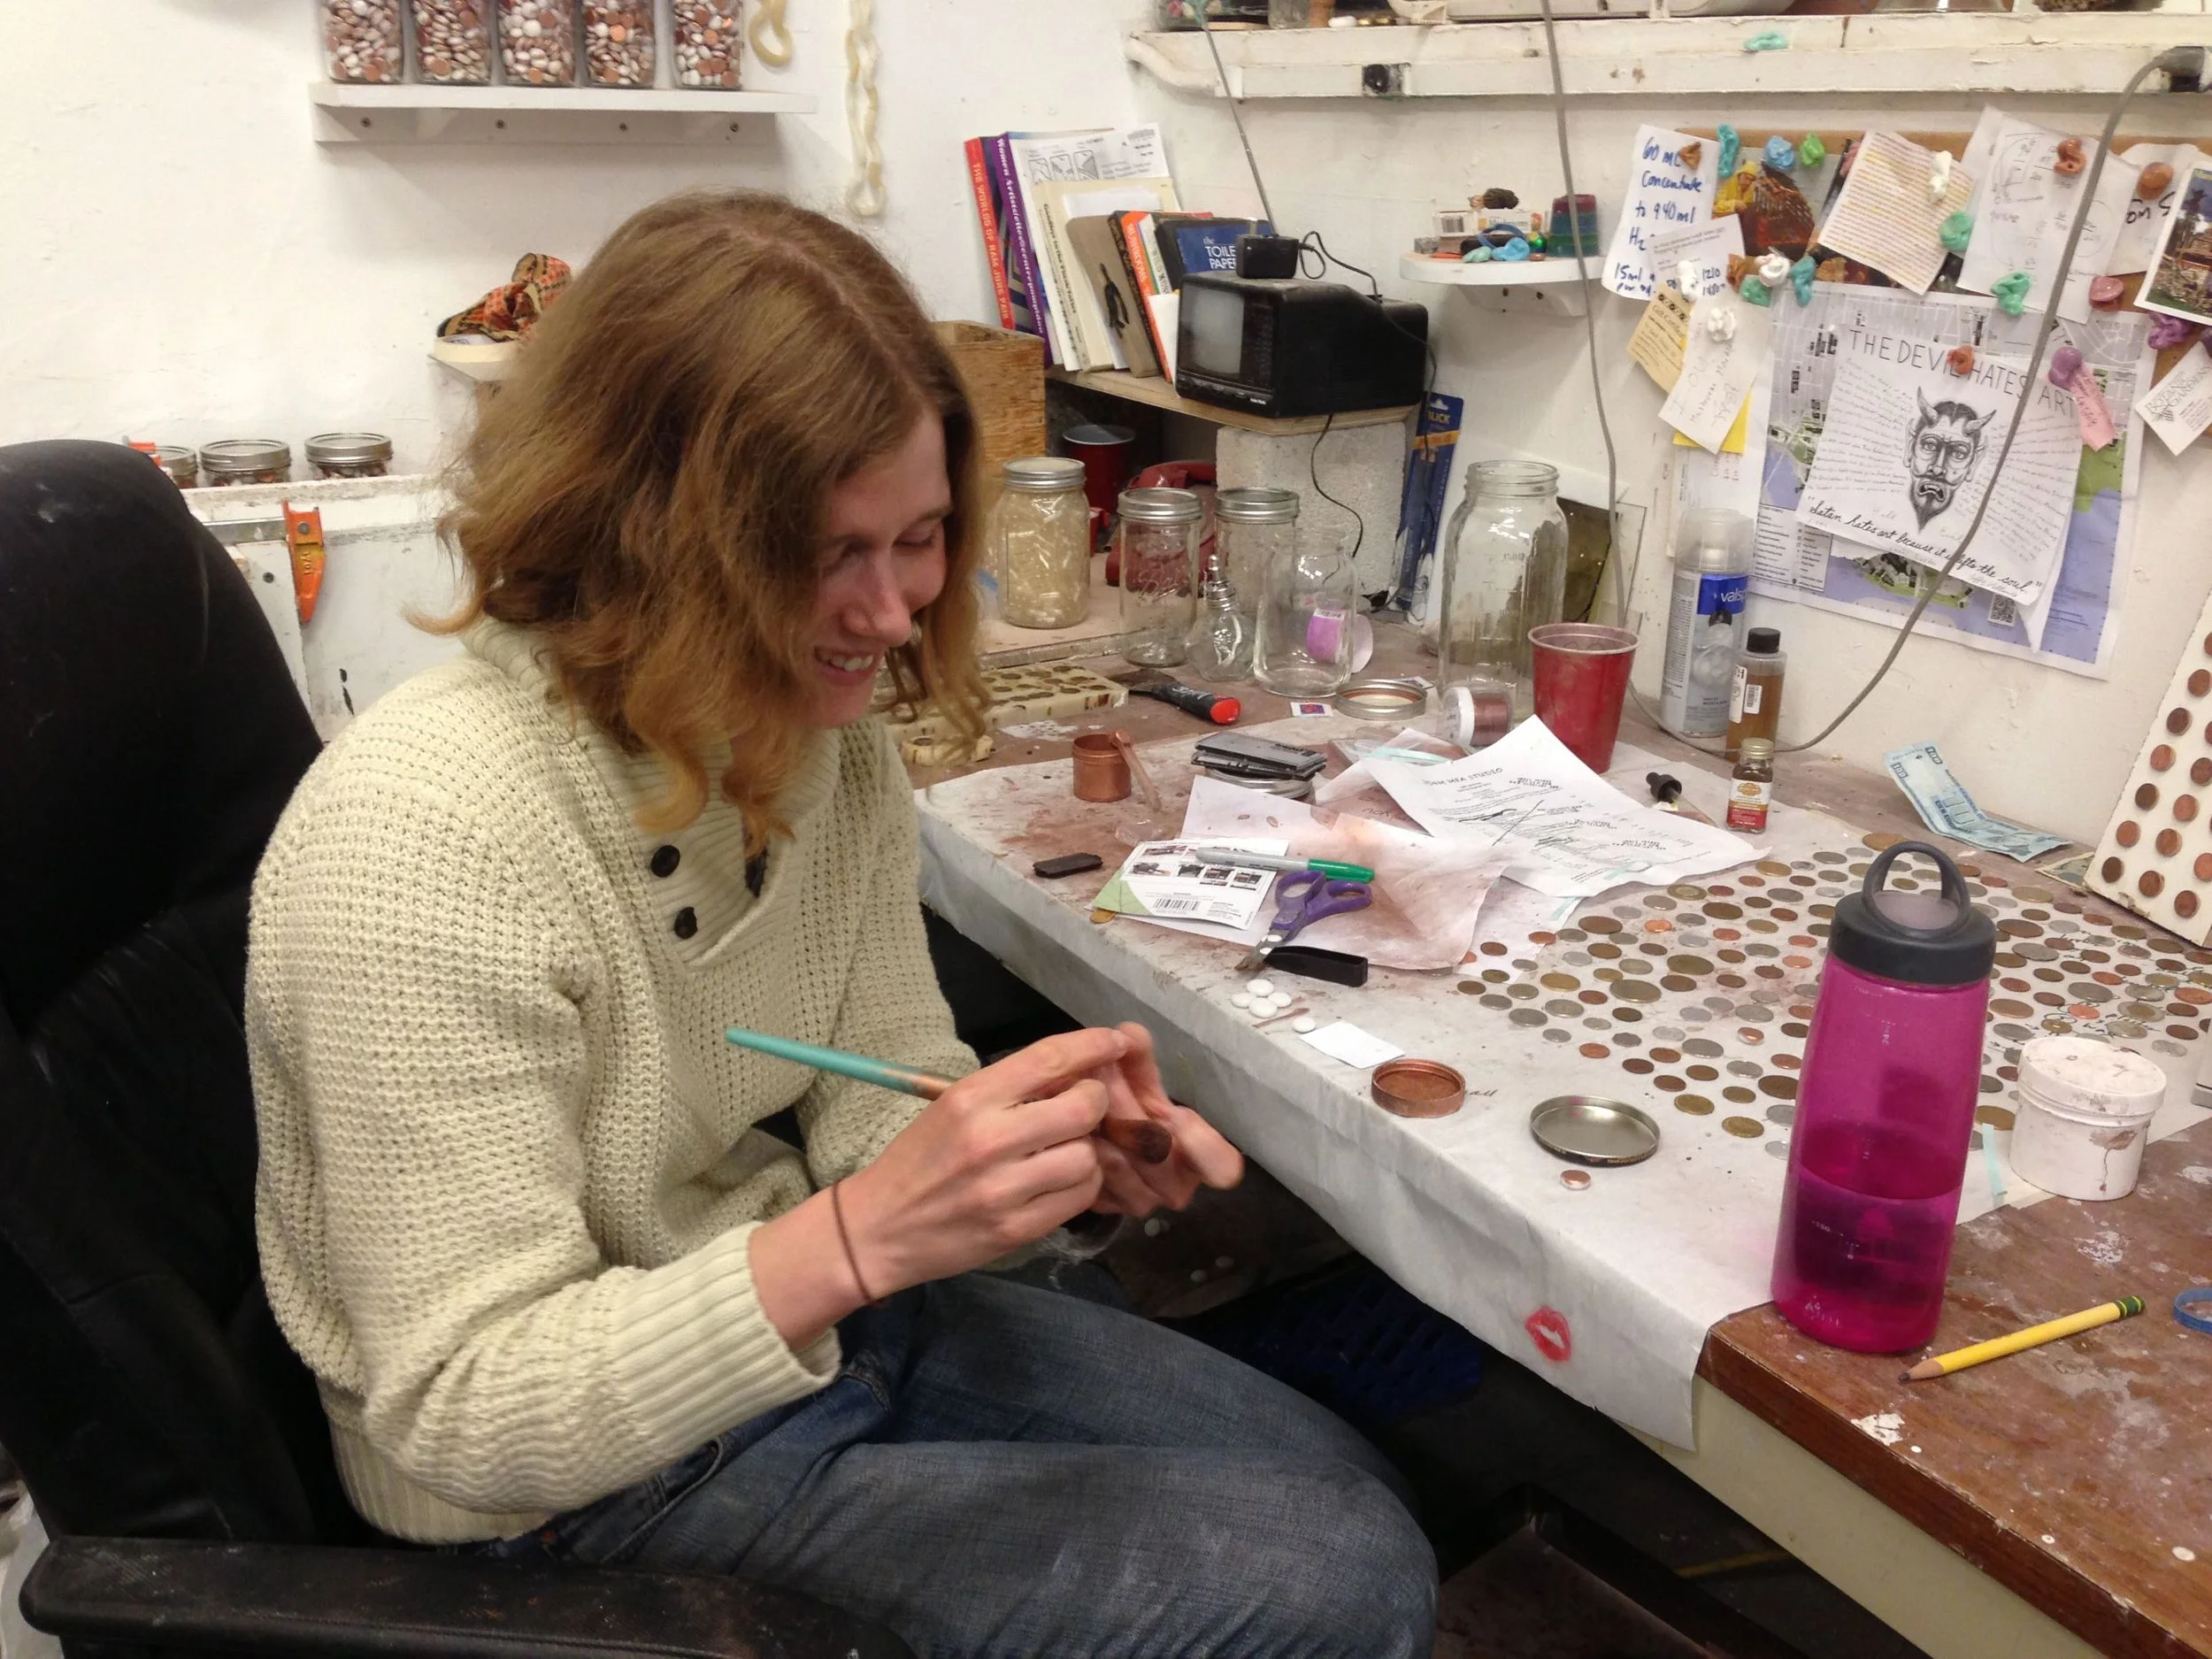
Every piece is then painted with a water-based glue called "sizing."
The sizing is what makes the copper powder stick to the surface of the coin. The glue must be allowed to dry to a tacky consistency before the powder can be dusted on it.
A fine copper powder is dusted into the face of the coin. This makes the relief of the heads or tails really stand out.
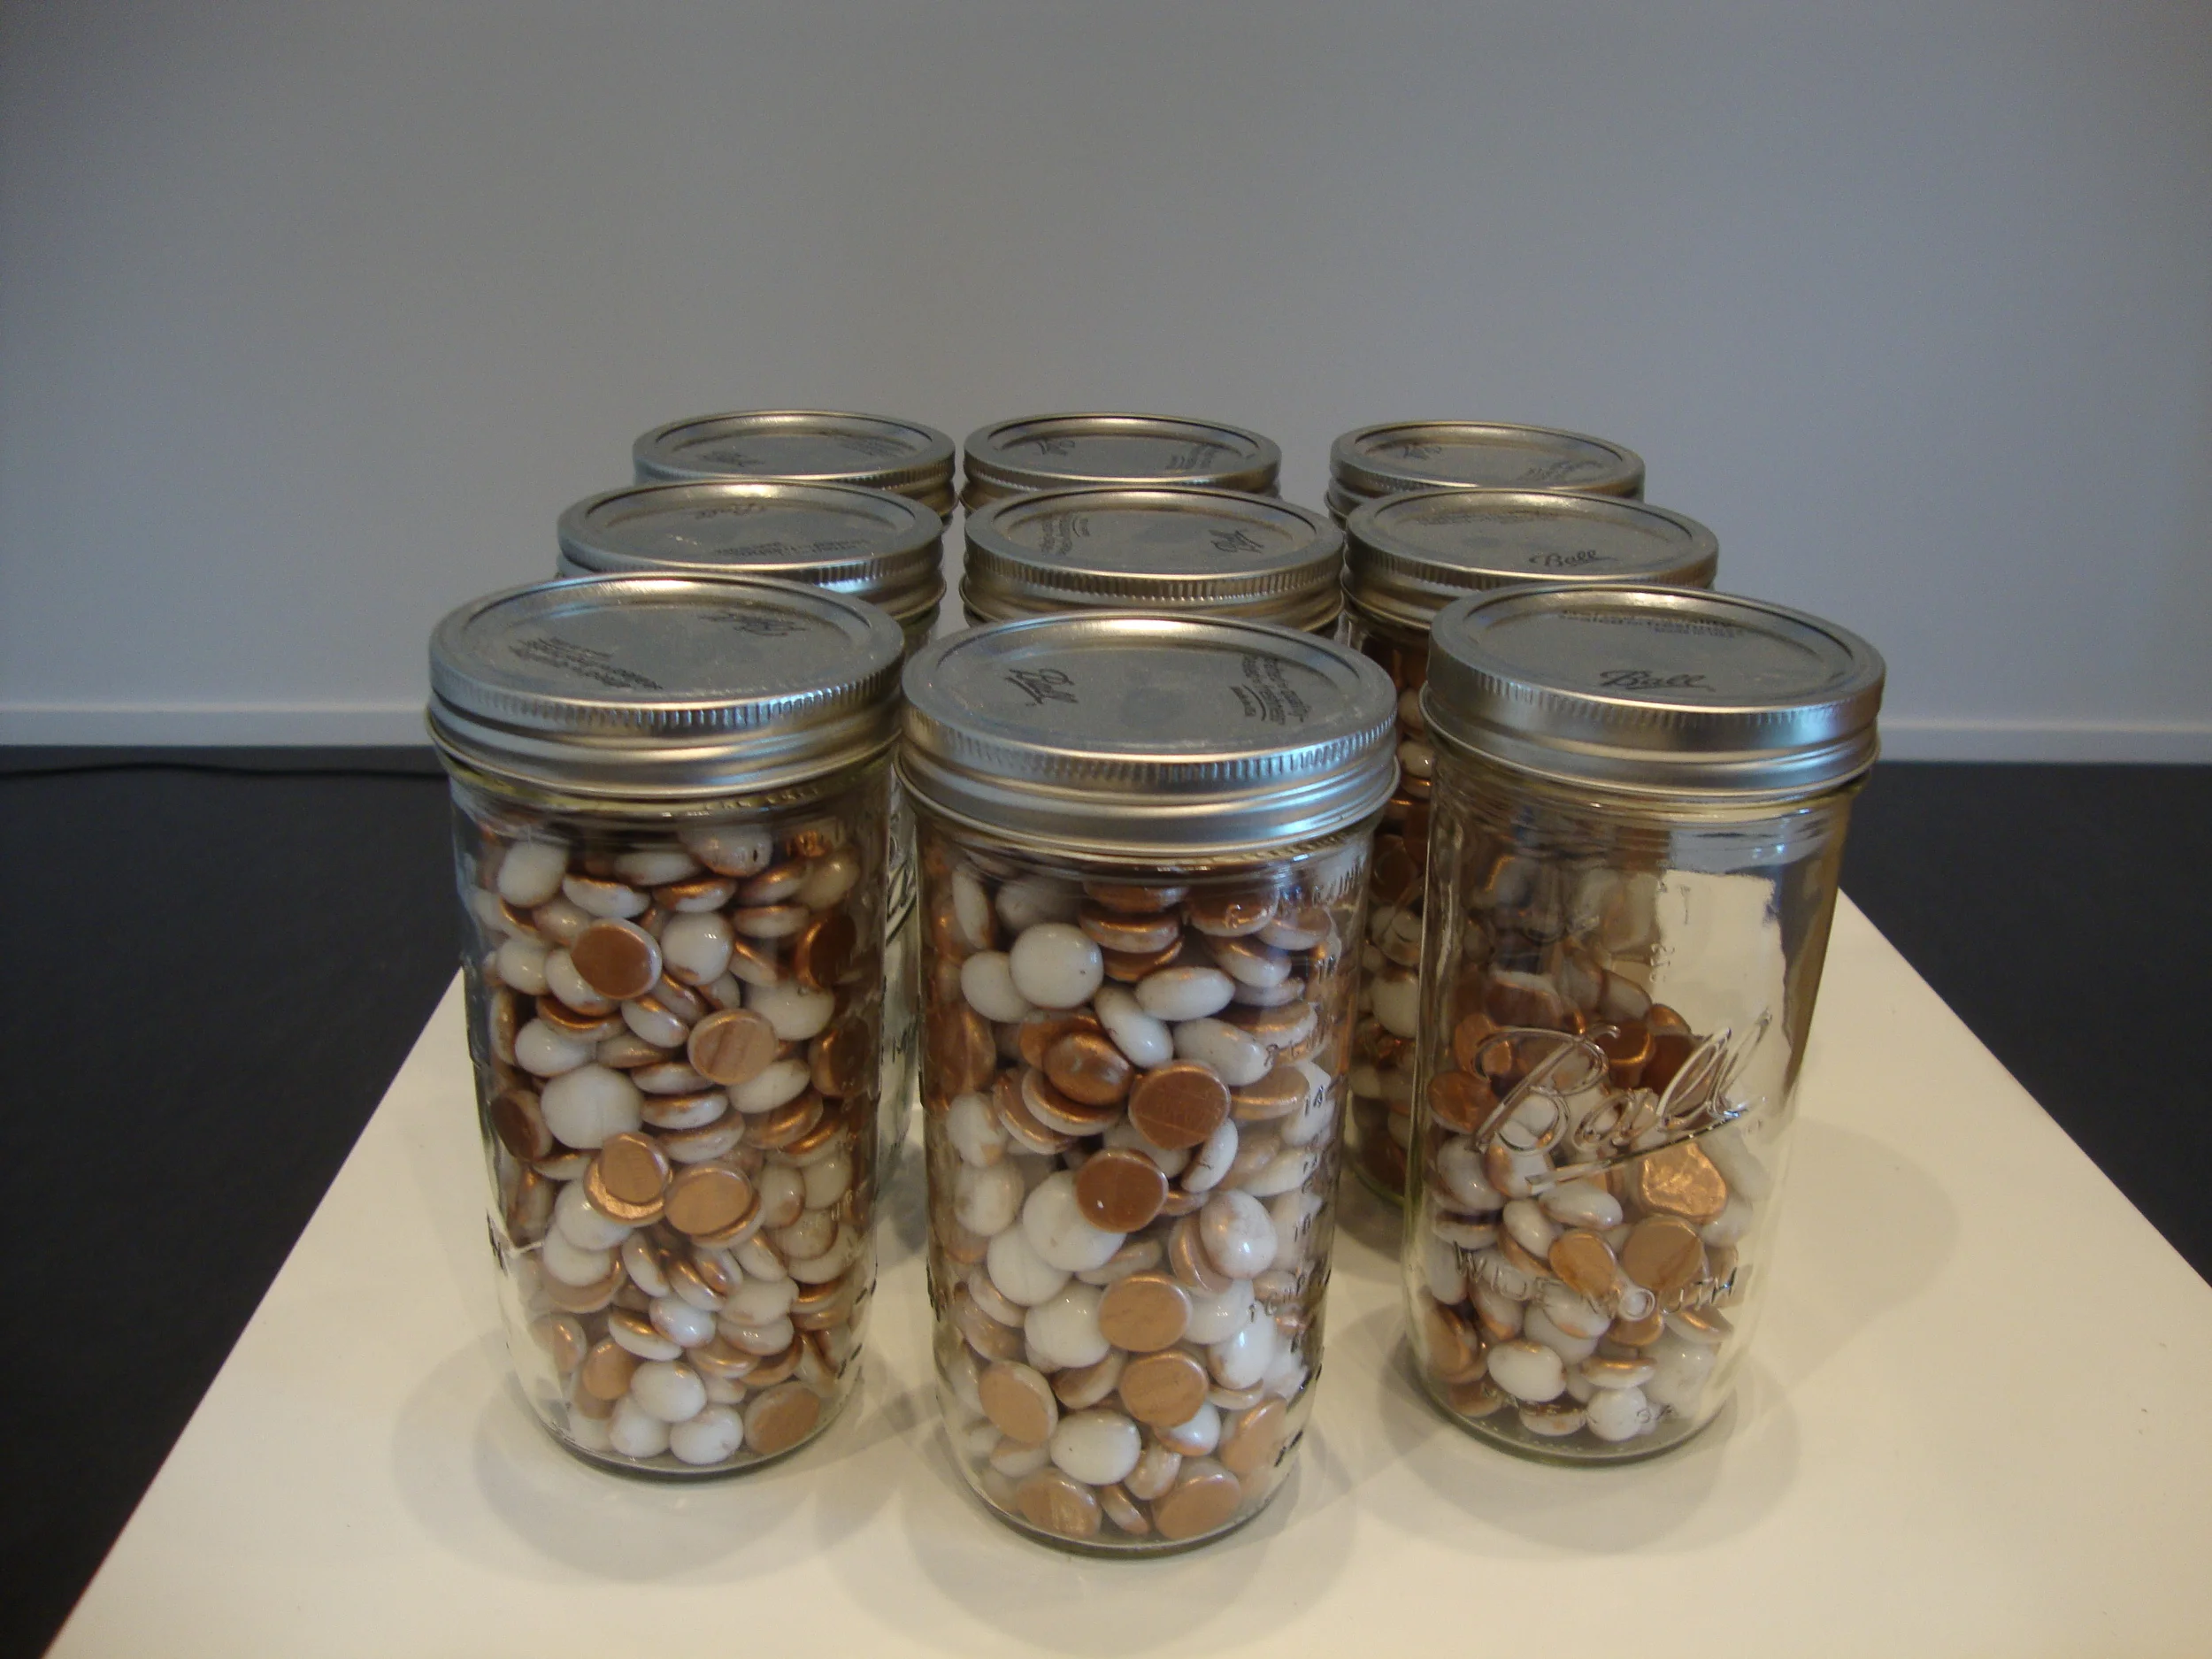
The proper name of the currency is "works," and each coin took approximately 15 hours to make, counting firing times in the kiln as well as steaming out the mold.
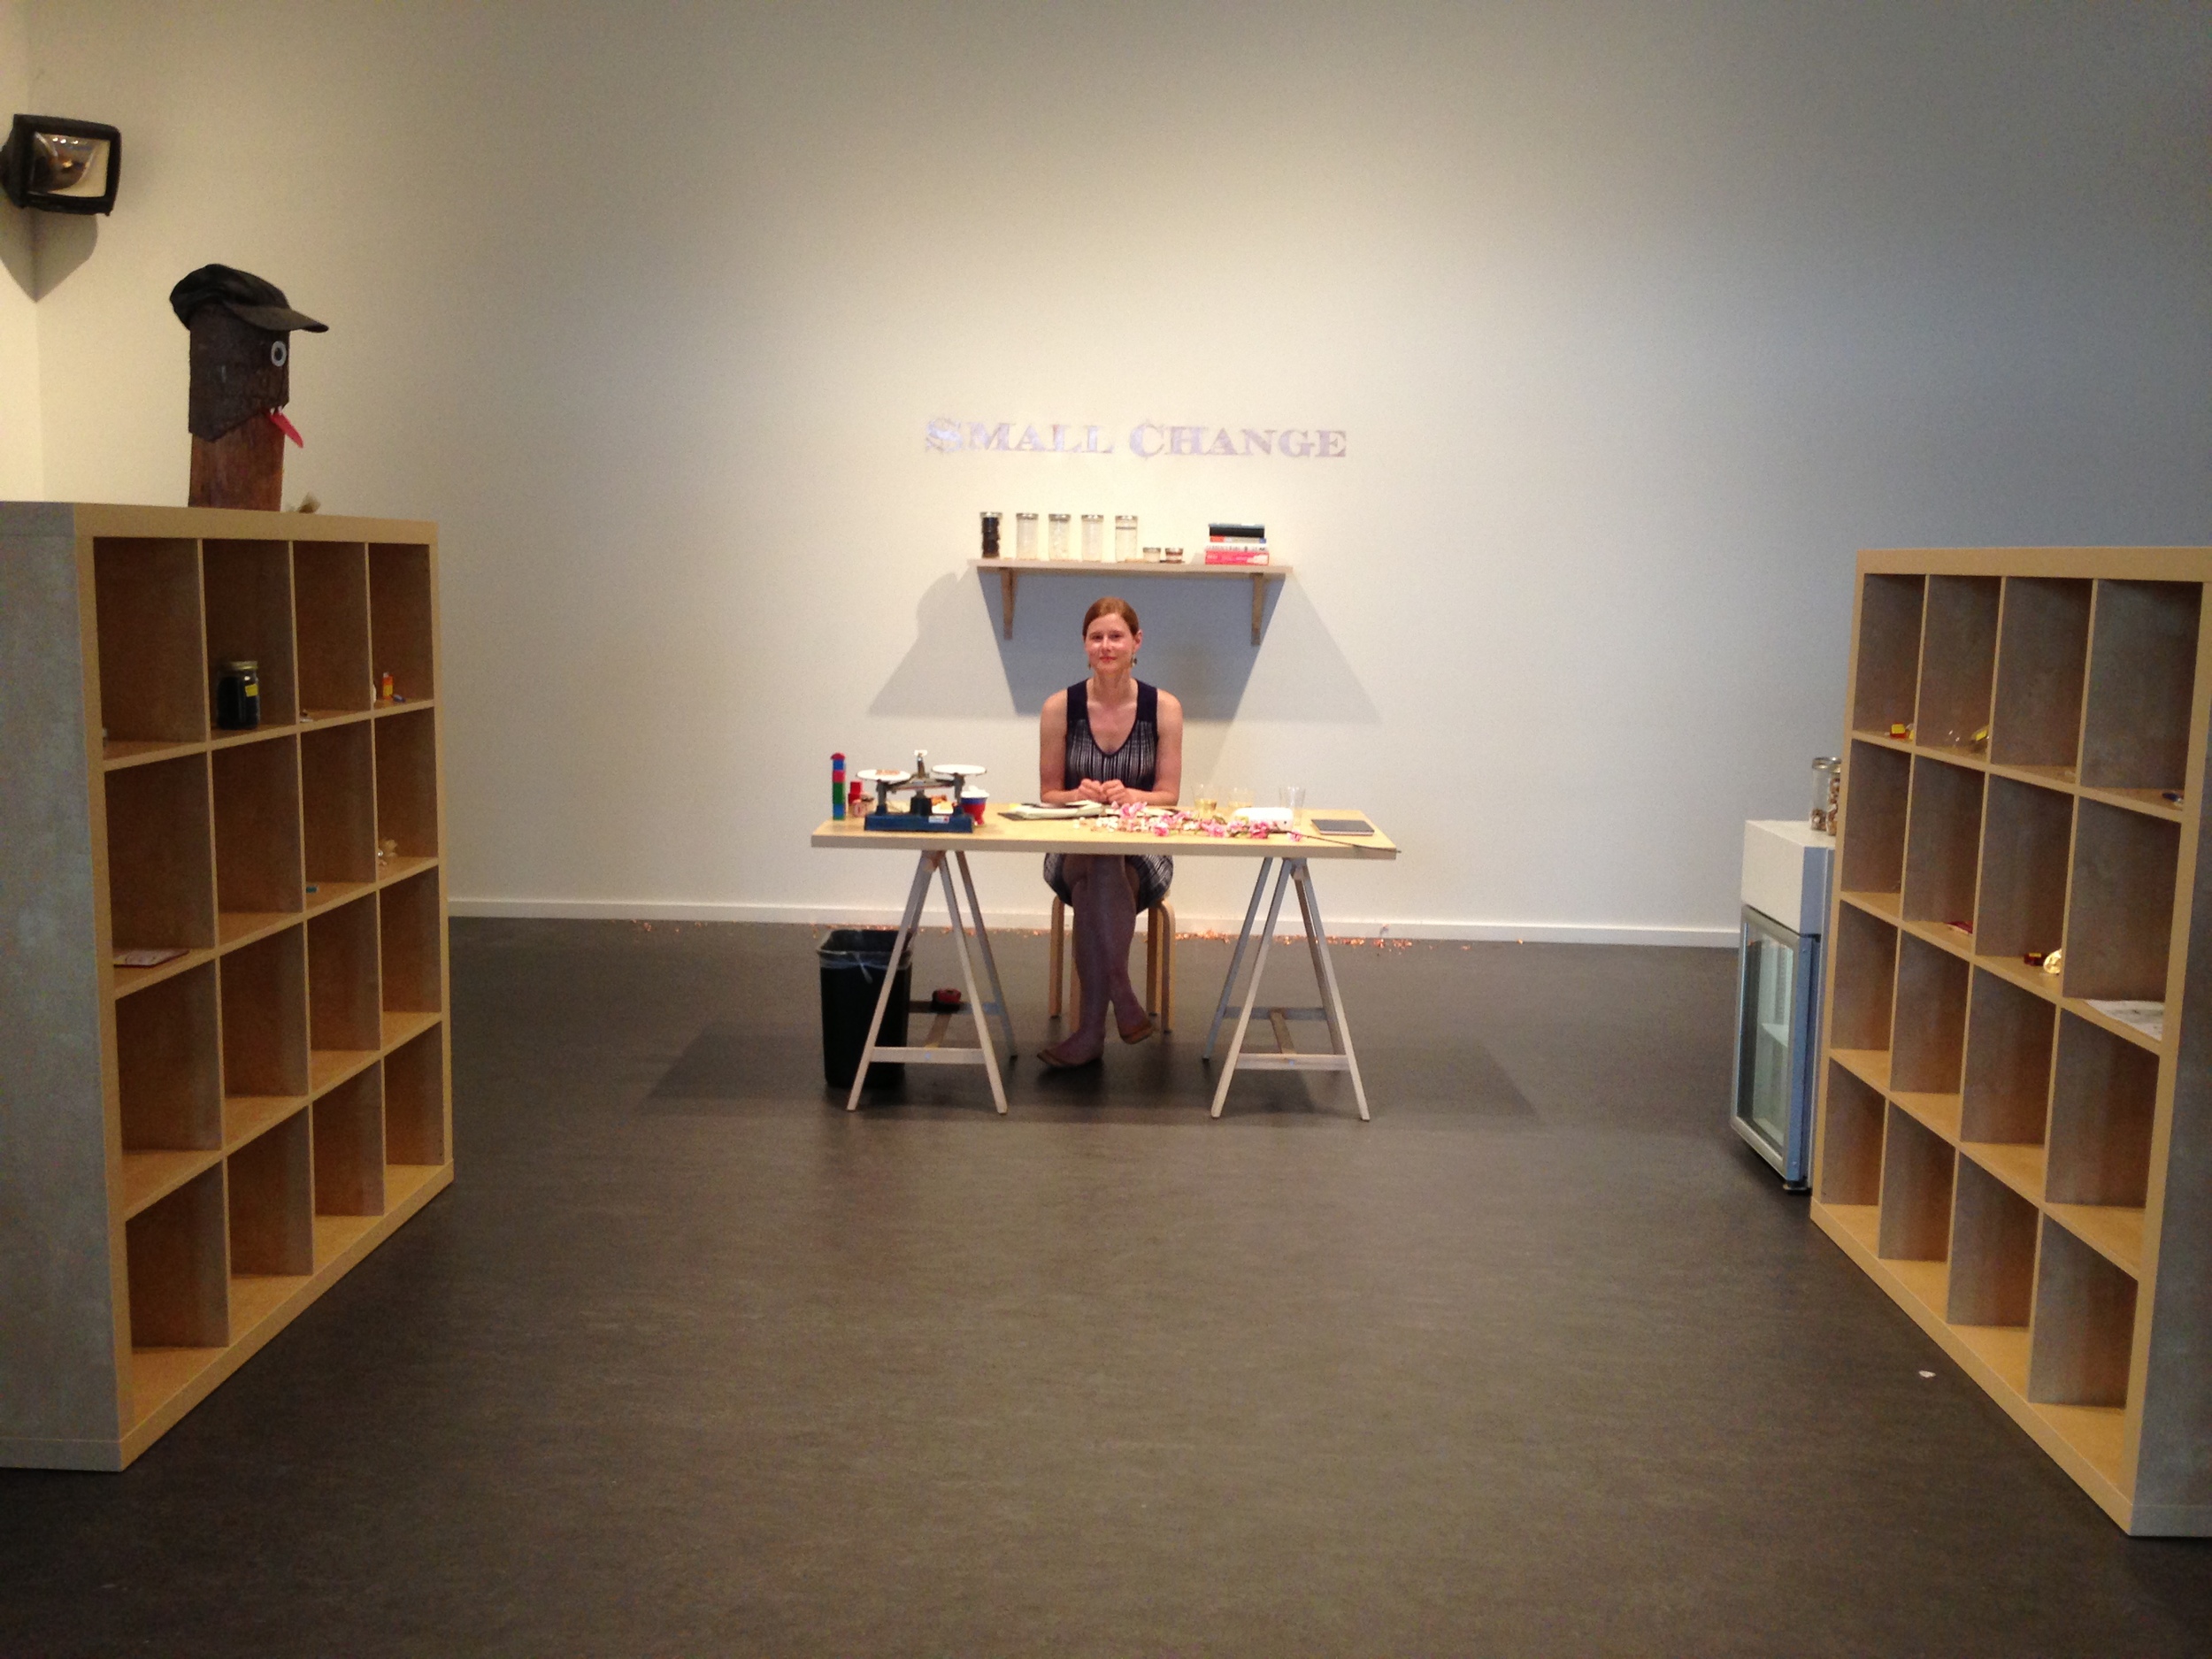
Armed with a ledger book, receipts, and all of the 4,000+ works that were manufactured over a two-month period, I installed myself in the Test Site of the Henry Art Gallery as sort of a reverse-store front.
photo credit: Russell Johnson
The materials that went into the project, both concrete and intellectual, were made visible to all participants. Jars of wax, plaster, silica, water, glass, sizing, and copper powder were put on display behind where I sat, alongside texts about economy, counterfeiting, and debt that I was reading at the time of the development of this project.
"The bank."
Visitors to the museum were welcome to come into the space and trade any object in exchange for a mutually agreed-upon amount of the currency.
photo credit: Russell Johnson
photo credit: Russell Johnson
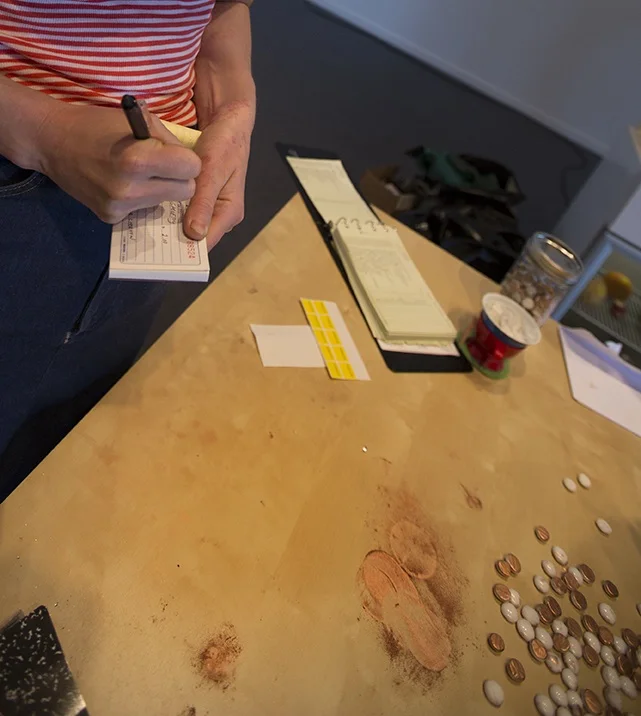
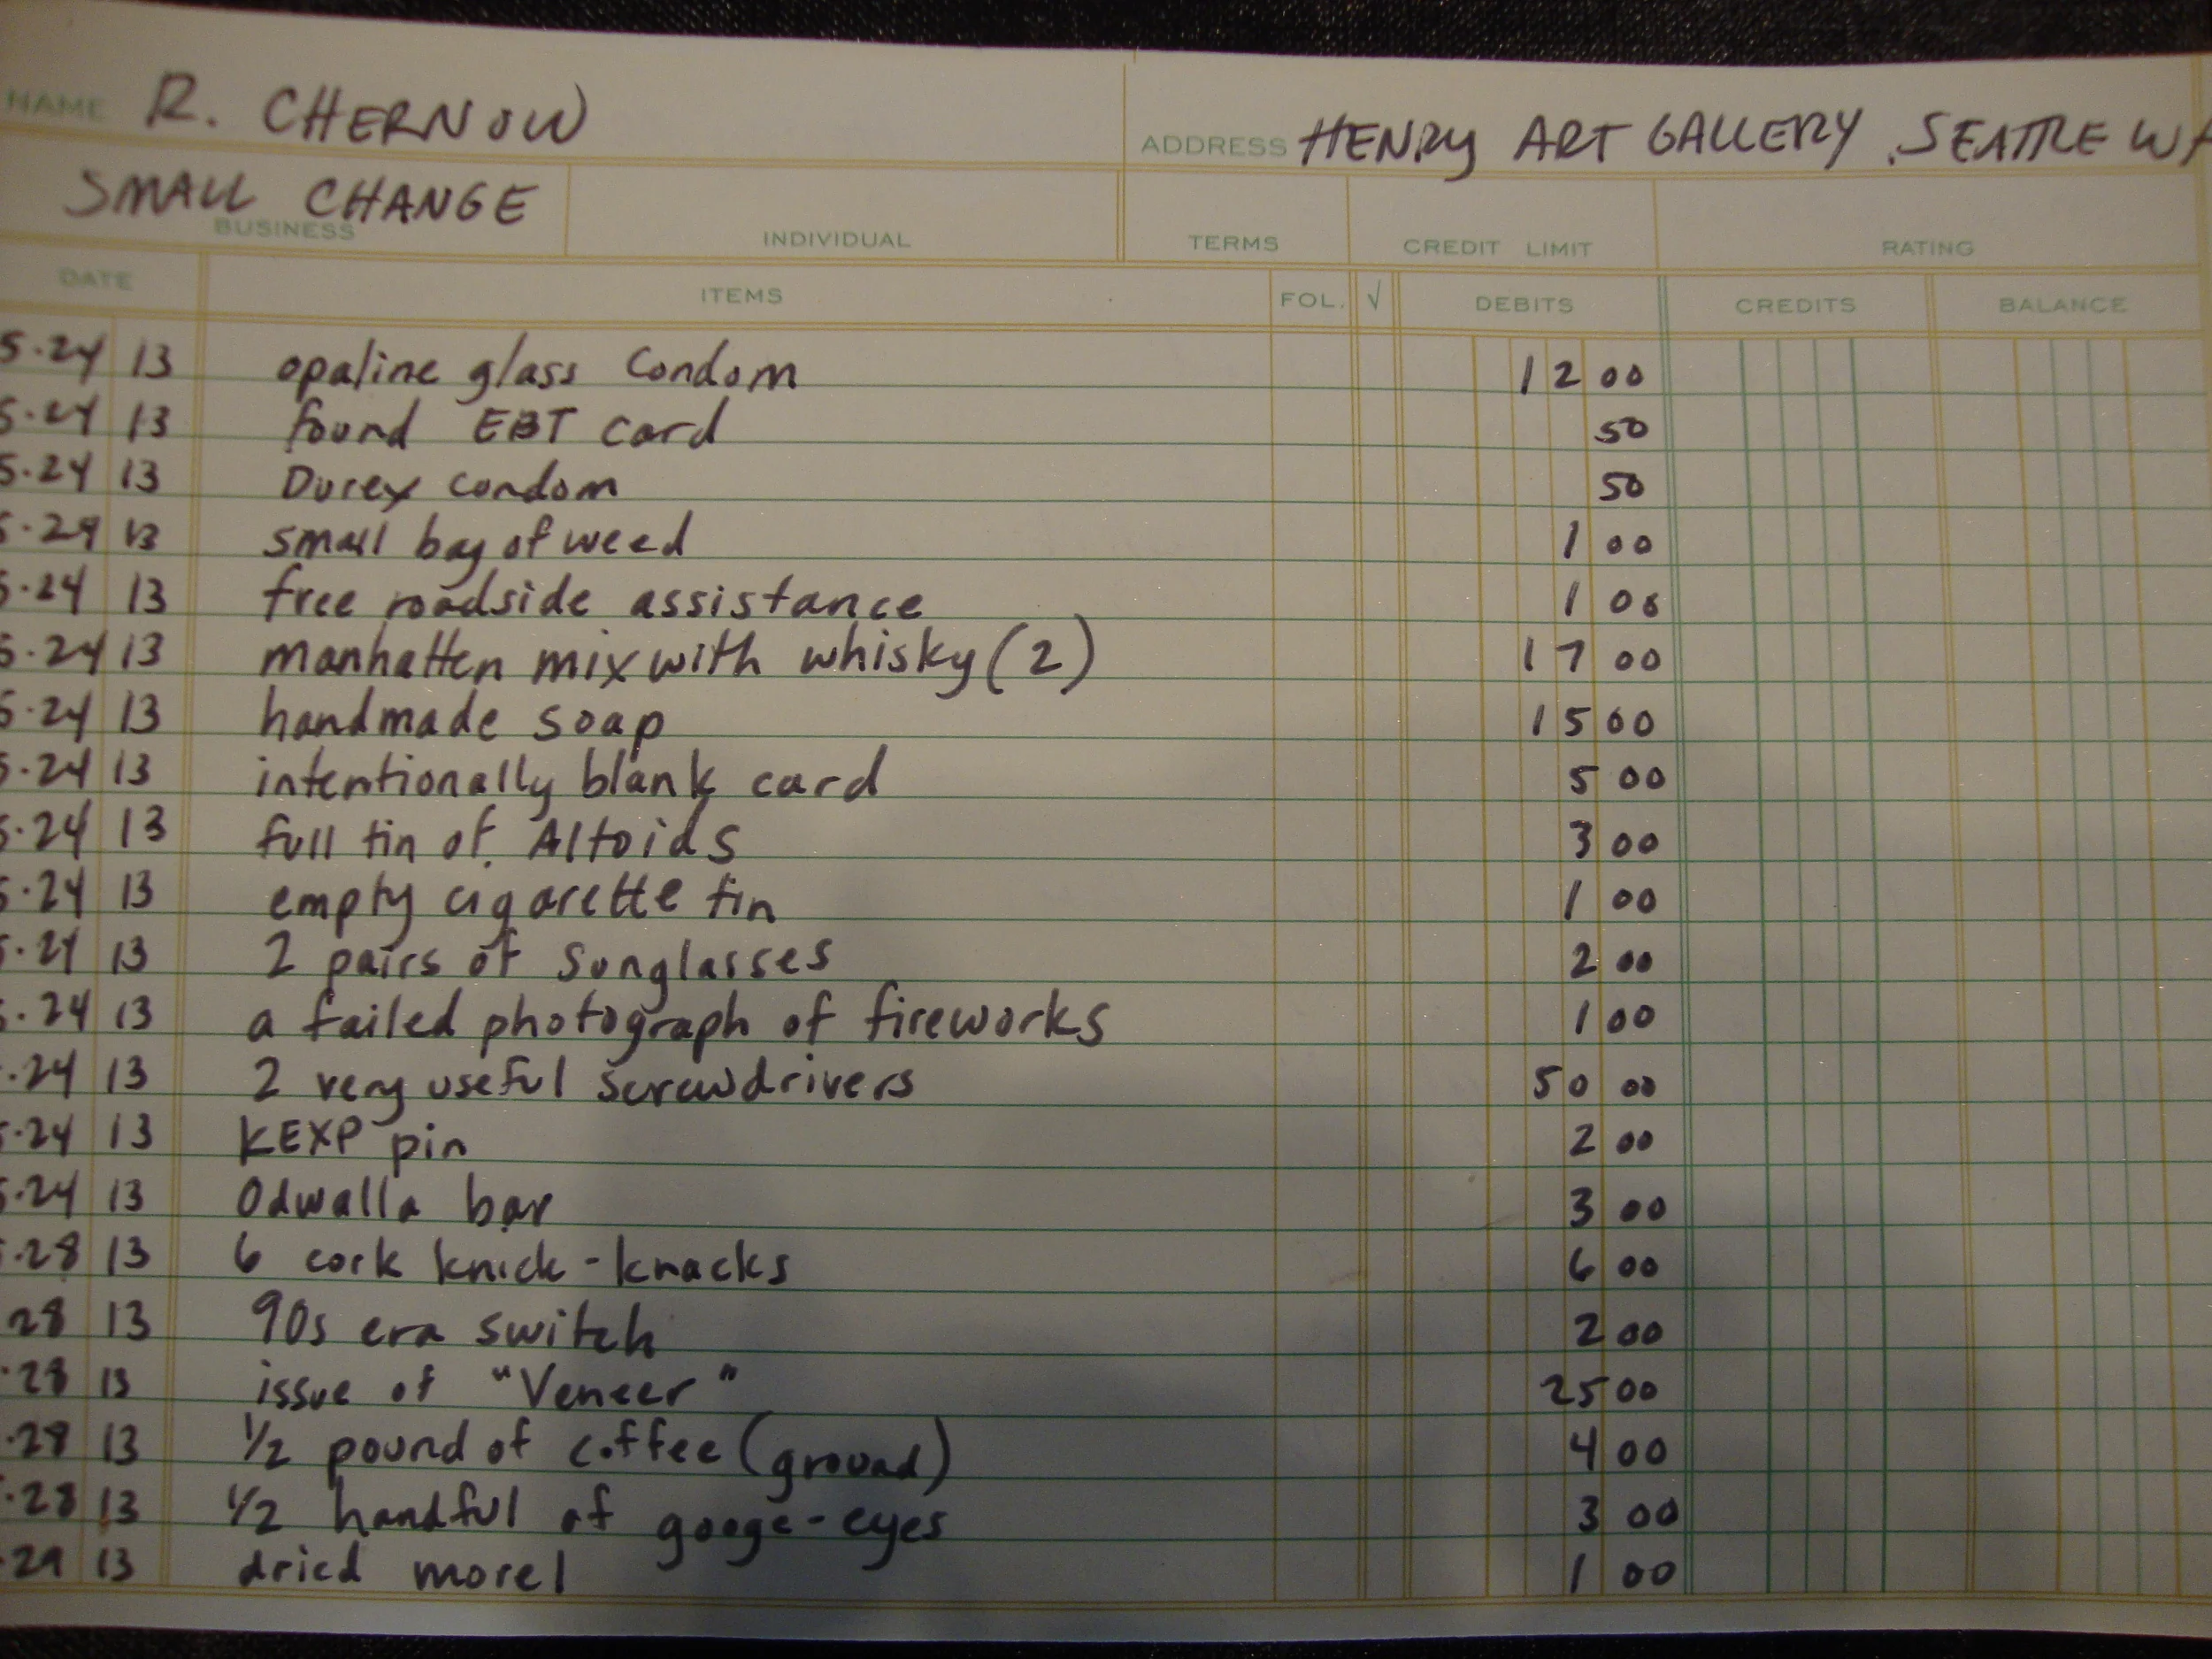
A receipt was written for every transaction, one was given to the visitor and I kept one for my records.
photo credit: Russell Johnson
Every transaction was recorded in a ledger book. This was to determine the appreciation (or depreciation) of the works over time based on the value of the objects or services traded for them
The shelves eventually filled up with things.
photo credit: Russell Johnson
Toys, lighters, cigarettes, individual pieces of artwork, candy accumulated in the space as works were traded away.
photo credit: Russell Johnson
Sugar, glass, twinkies, bottle opener, tobacco. Everything had its purchase price attached to it.
We held a gilding workshop one afternoon, on how to increase the value--if only superficially--of everyday object by covering them in gold, copper, and silver leaf.
photo credit: Russell Johnson
Detail of gilding workshop.
photo credit: Russell Johnson
The golden goose.
photo credit: Russell Johnson